
If you want to improve the result of cross-sell and you do not know how to set it up. Please read through the following content patiently.
Let me specify the setup of the cross-sell.
1. If the seller code the cross-sell himself or herself, he or she probably will encounter the following problem.
a. You need to code manually and then insert it into the HTML description of Listing. It is a trouble to hard-code the titles, pictures and prices of Listing.
b. The Listing status cannot be synchronized. For example, if items of Listing in cross-sell are sold out or their prices and titles are changed, these cannot be synchronized, because the number of listing in an account can be large and its status is generally not changed or maintained.
c. You cannot flexibly choose the listing needed for cross-sell. For instance, when you choose hot-selling goods to promote it and when you choose poor-selling goods to have a clearance sale, you need to consider how to screen the listing you need from online listing database if you write the code yourself. And you also need to learn how to connect to eBay API which requires much effort.
d. You are unable to know the effect of cross-sell. And if a cross-sell is launched, you cannot see how many people have clicked, how many items have been clicked and what listing of cross-sell is clicked the most.
2.Using a third-party tool to achieve cross-Sell
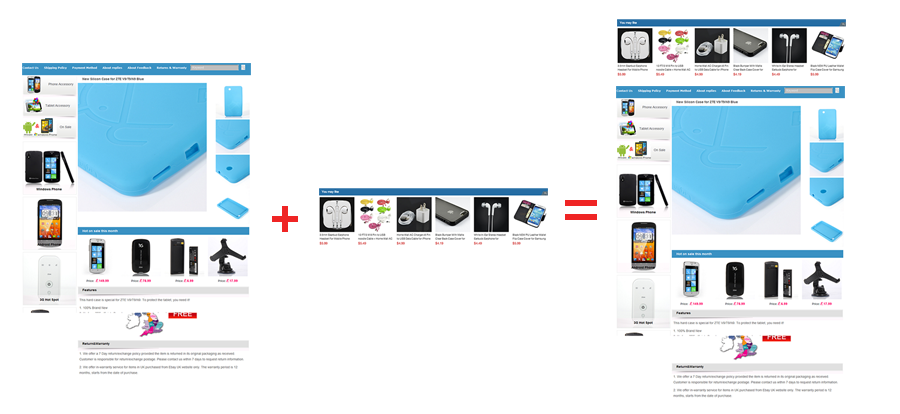
Here, we only talk about how our service achieves cross-sell. Let’s have a look at what makes up a cross-sell first.
Like what is shown in the following picture, you need to set the listing of cross-sell, the opening position of cross-sell, content composition shown in cross-sell and display setup.
Then, we can see the effect of cross-sell after using our product.
The followings are some specifications about opening the listing of cross-sell, the position of cross-sell, the content appeared in cross-sell and display setup, which are what we have mentioned.
Let’s click “cross-sell” in application center.
Because the default setup is “closed” when you enter into “cross-sell”, you should click the open option to enable the function. If you are not familiar with cross-sell in the beginning, you can watch the video we made to help you understand cross-sell better.
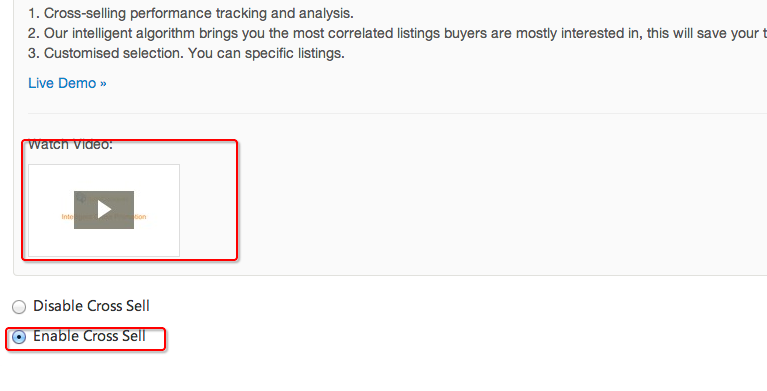
After you enable cross-sell function, the system will automatically add a piece of code about cross-sell in your Listing and you need not to modify the code manually which is done by the system. What’s more, our cross-sell function will self-adapt to the existing templates of yours.
Tips: if your account is a new account in our system for less than 24 hours, cross-sell setup will take effect after 6 hours, because it is a synchronization between you and eBay API and an operation process for cross-sell setup data.
Next, we will focus on setup range, which means you can choose which Listing you want to cross-sell.
In this system, the concept of “range” is used to stand for a set of cross-sell acting on a certain Listing. For example, if you want to enable cross-sell function for all Listing, for a certain category or for some specific Listing, you can control it accurately here by setting up new setup ranges.
When you enable the function, the default range of cross-sell includes all Listing in the account. However, you can click open-a-new-range item to choose the range you want.

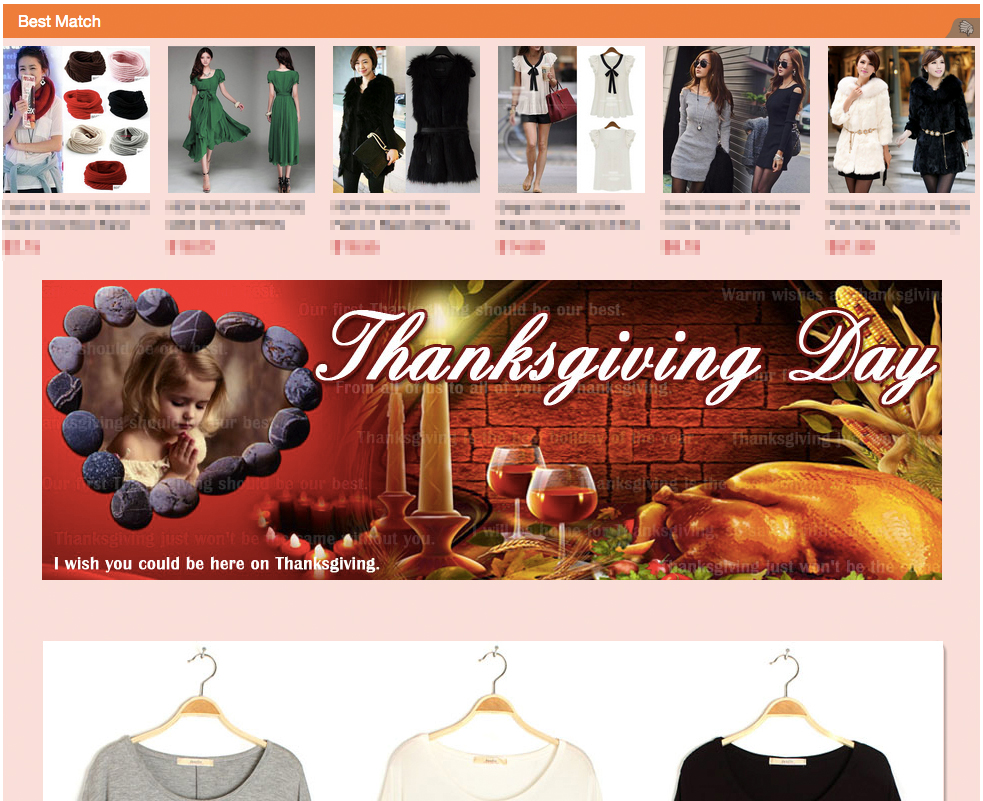
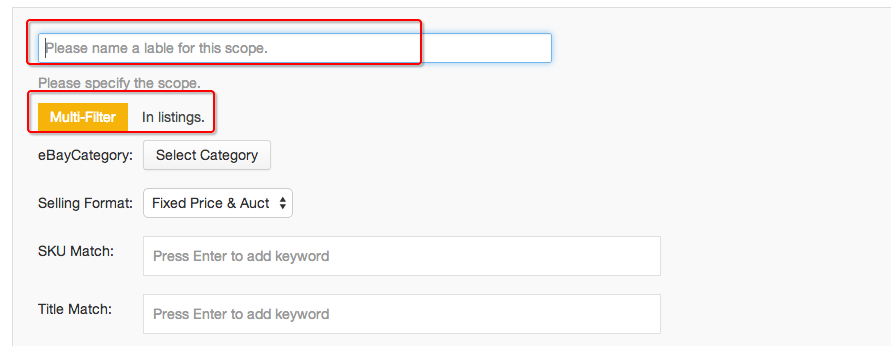
Here, we click open-a-new-range item and the name the new range so that we can manage it easily. You can flexibly choose the range of Listing for cross-sell according to your needs. You can enable cross-sell for specified category or in selling way, or combined these two ways together. You can also specify a certain listing to enable cross-sell.
or example, there are a dress category and a T-shirt category in an American website and you can specifically enable the listing of dress category in fixed price or in the listing of auction. And you can also enable the listing of fixed price in dress category. You can even enable cross-sell for specific listing in T-shirt category.

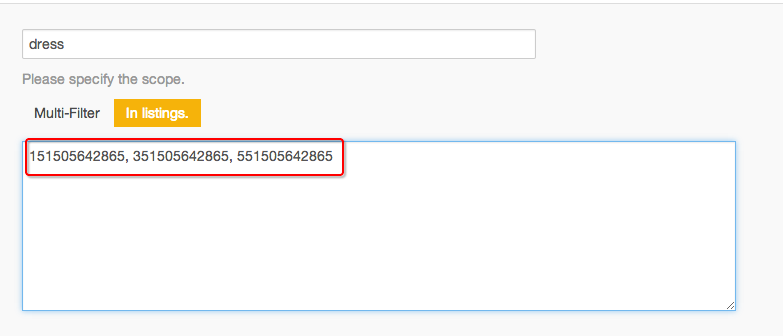
The following picture shows how to enable cross-sell for the listing of some specific dresses.
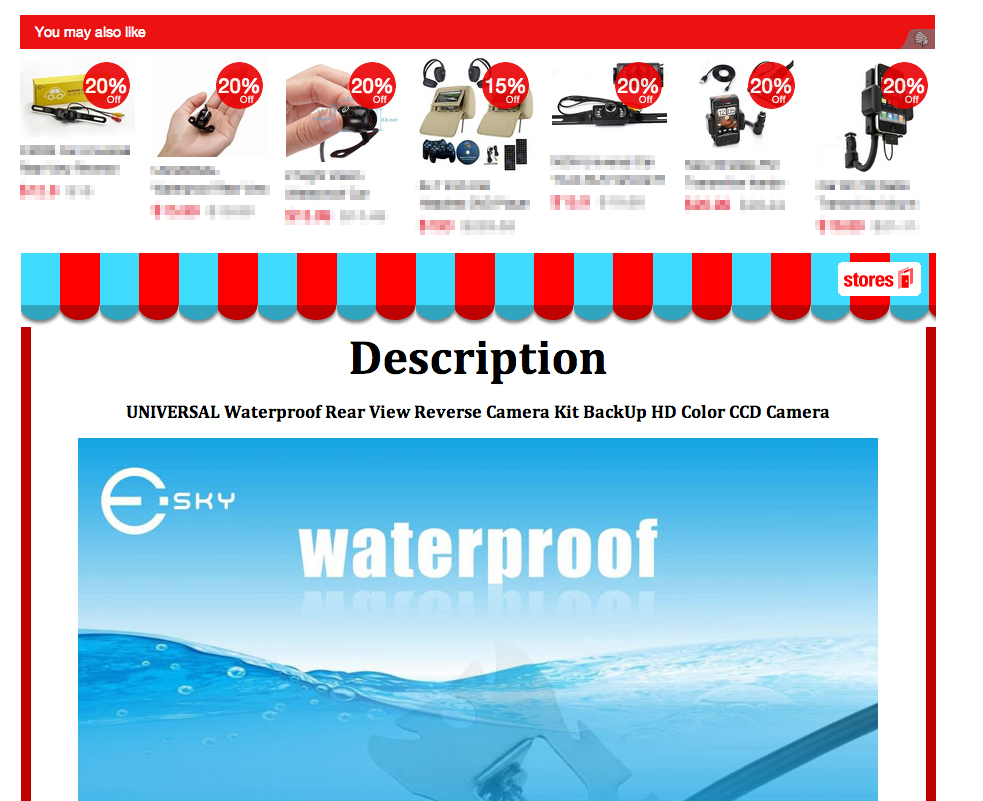
After you set up the listing for cross-sell, we should choose the position of cross-sell in the listing which means where the cross-sell is placed.
You can choose from four positions, up, down, left and right, and each position can be set up exclusively. The default setup is “Top”.
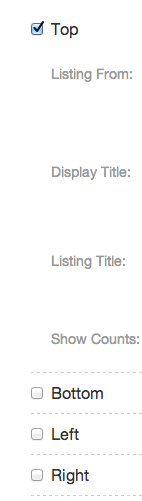
Tips: you may have enabled “left” or “right”, but the content is not displayed and the above situation occurs. This is because you have not reserved the place for “left” or “right” in your Listing template and when the visitors’ screen resolution is too small which unable the display of left or right cross-sell, the above situation occurs.
After you choose the place for display, you need to set up the Listing appears in cross-sell. You can choose the goods through different goods-choosing algorithm.
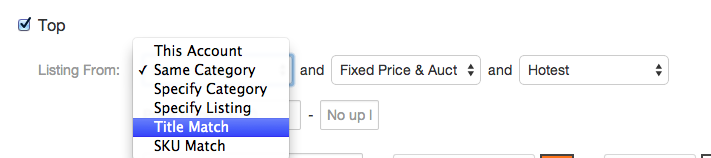
Range: within the account, the same category, specified category, specified listing and keywords including title.
Selling way of listing: fixed price and auction.
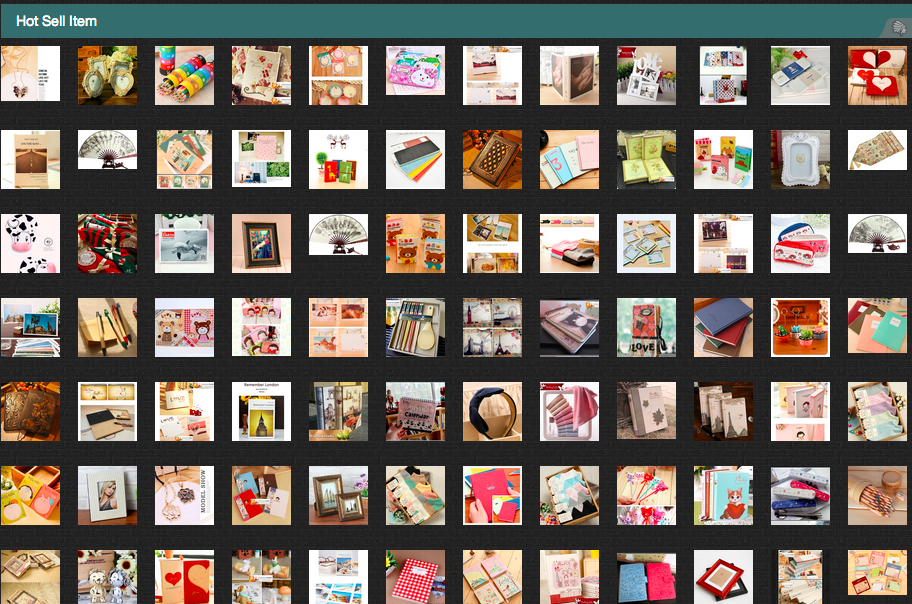
Sorting way: the best-selling goods, the poor-selling goods, the new arrival or goods with the highest transaction rate in the last 10 days.
The price range can even be set up.
For example, when within the account, fixed price, price ranging from 5 dollars to 10 dollars and the best-selling listing appear in cross-sell, goods-choosing algorithm can screen goods according to different situation. Especially when we are doing the accurate cross-sell, this function is very useful.
Finally, we show you the setup pattern.
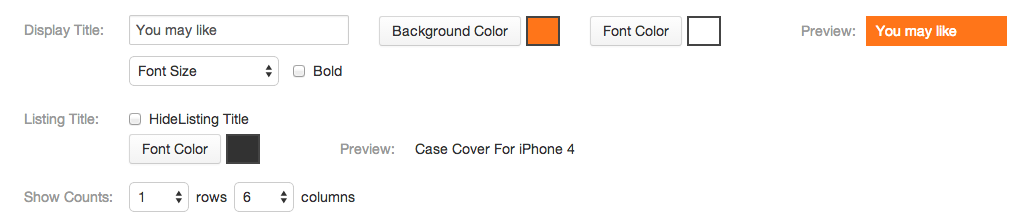
Click save item to finish the setup of a range rule. You can set up many different new range to define the rule of display. You are likely to know how to set up a cross-sell. Begin your cross-sell now!